
When it comes to quilling, one of the most overlooked but downright essential supplies to the craft is quilling paper strips. We painstakingly plan out our projects, gather every quilling tool we might possibly need, and then plot out a color scheme. Very little thought is given to the paper itself. Yet without it, quilling would not be quilling.
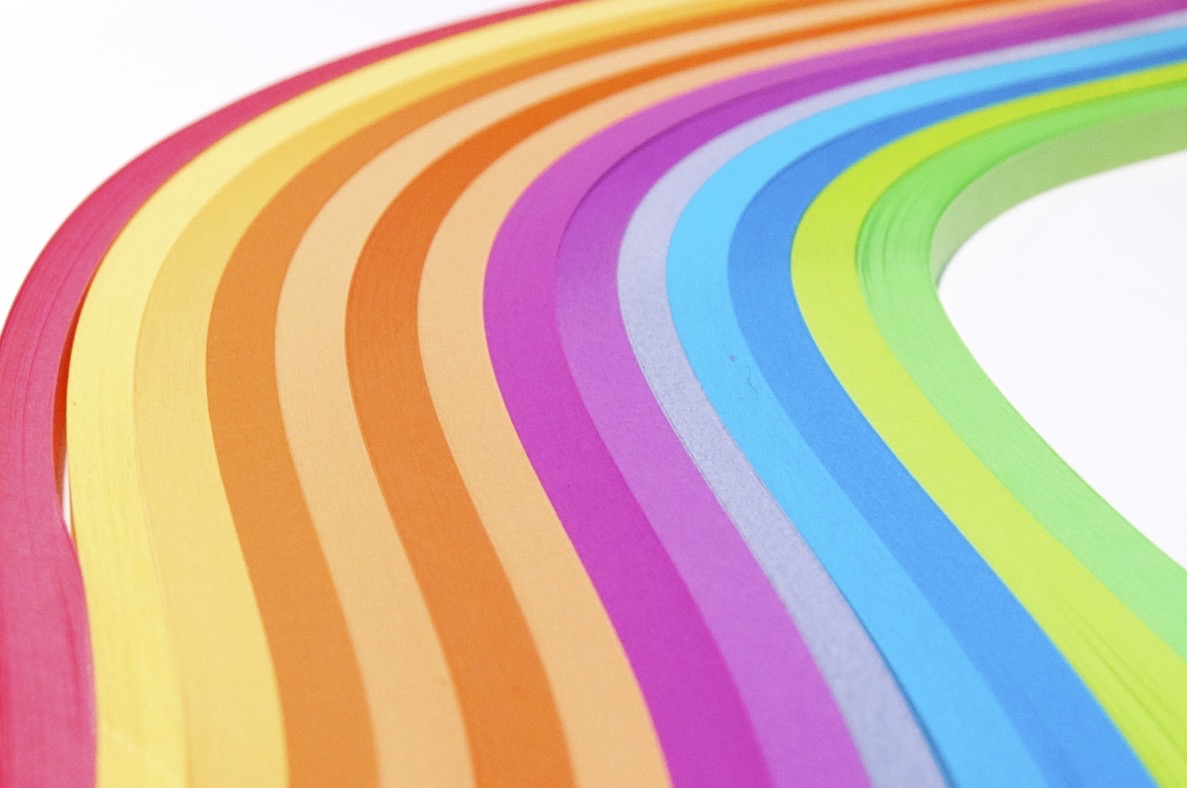
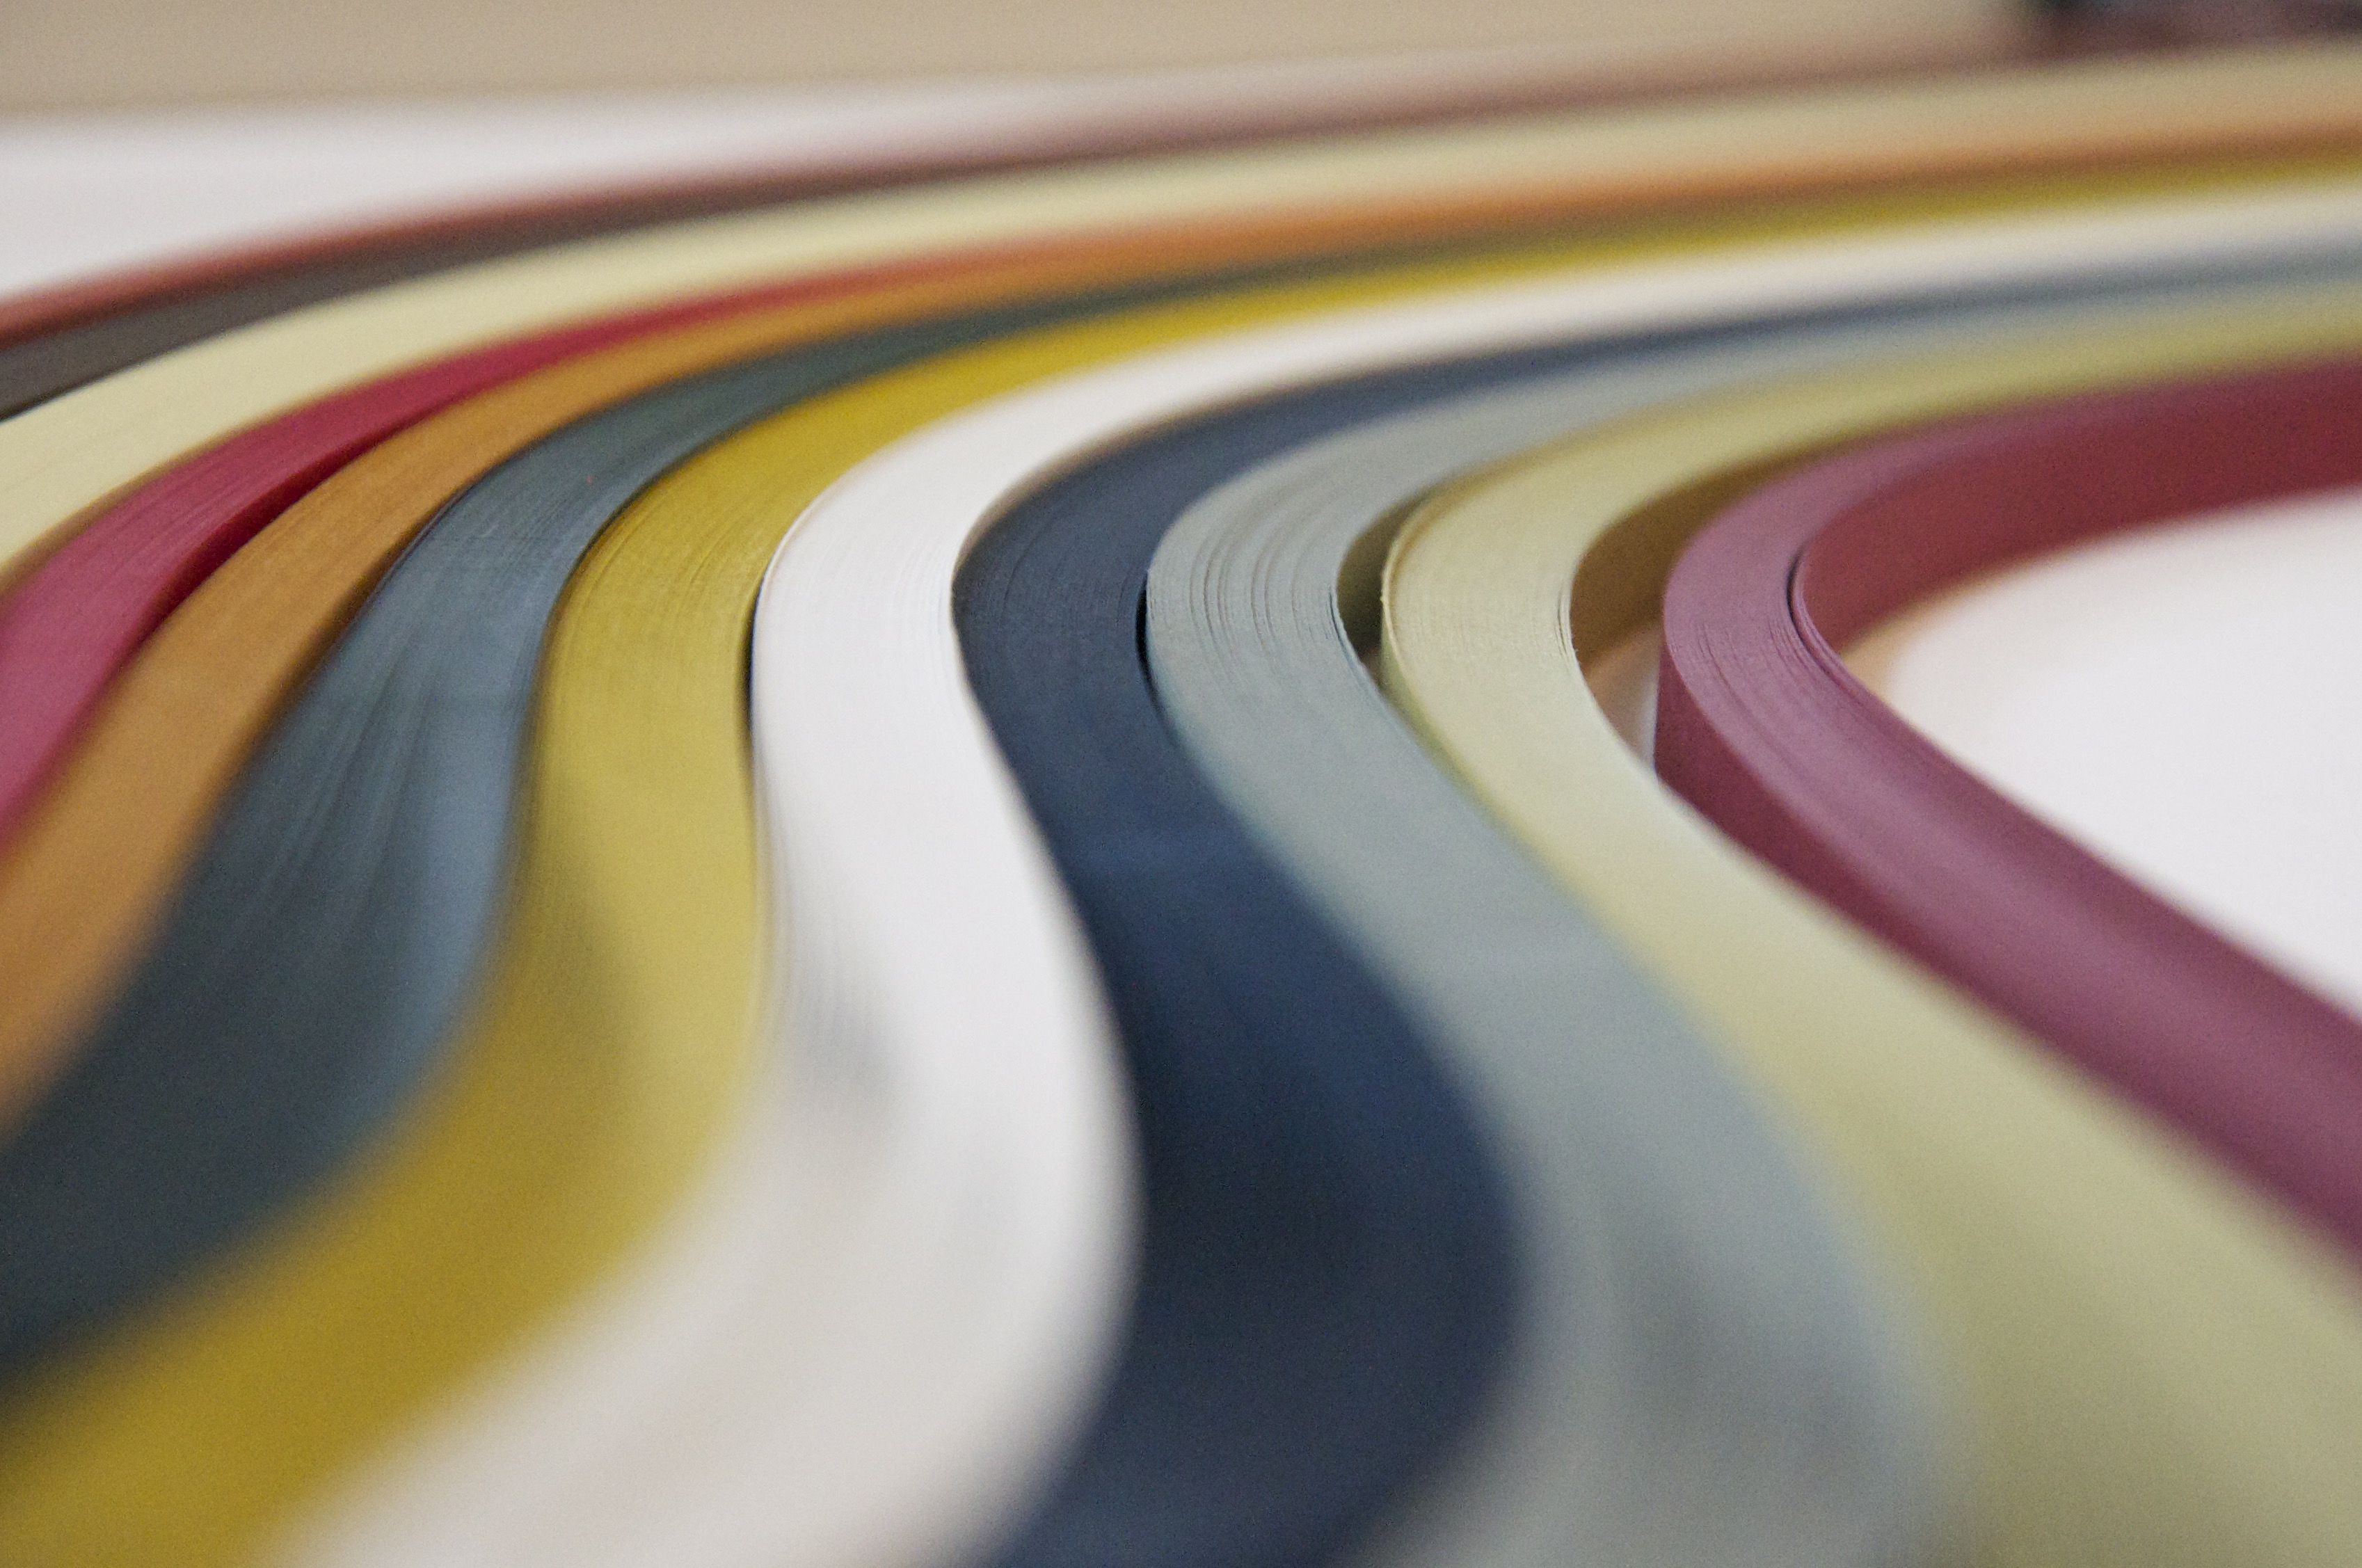
Modern quillers are spoiled in comparison to our paper rolling predecessors. We have options galore: hundreds of colors, creative finishes and gilded edged papers and more.
There are still times, though, when pre-cut quilling strips aren’t ideal. Maybe you come across an amazing hand-dyed paper that you just have to use in your next quilling project or you run out of black strips and need only three more to finish. It’s times like these that it’s great to know how to cut your own quilling paper.
Cutting your own paper strips is extremely simple; the trickier part in fact is knowing how to choose the right paper for the job. When we buy paper from quilling suppliers, they do the choosing for us. When cutting your own, paper selection is up to you. Here’s what to consider.
Choosing the Weight
The weight of the paper (how thick it is) has a huge impact on not only the finished project, but also on how easy it is to work with. Most commercial strips come in either writing weight (approximately 20 lbs.) or text weight (60-80 lbs.).
Writing weight
Writing weight paper is lighter — similar in thickness to the paper you’d typically use in your printer — which is useful for more traditional or delicate quilling. However, lighter weight paper tears easily if you ask too much of it.
Text weight
Text weight is on the heavier side and is usually preferred in modern quilling projects such as jewelry. A heavier paper can stand up to stretching and more manipulation, but may not give you the traditional quilling look you were going for. Play around with both so you can feel the most comfortable when making paper selections on your own.
Card stock
A third weight category to know a little about is card stock, which is used in quilling typography projects and outlining in mosaics. It too can vary vastly in weight from 60 lb. bristol weight up to 110+ cover stock. When working with card stock, remember that the heavier the weight, the less quilling-friendly it is. Bristol weight card stock can still be coiled and rolled up using a quilling tool, but cover stock would be too think to fit into a tool and would crack when rolled. The heavier weights, however are an excellent choice for use in straight and gently curved lines.
Selecting a Finish
Paper variations are virtually boundless. With enough effort, you can find whatever paper in any finish you can think up. Not all finishes are the easiest to quill with, however, so consider a few things to avoid disappointment and frustration after you’ve gone to the trouble of cutting it.
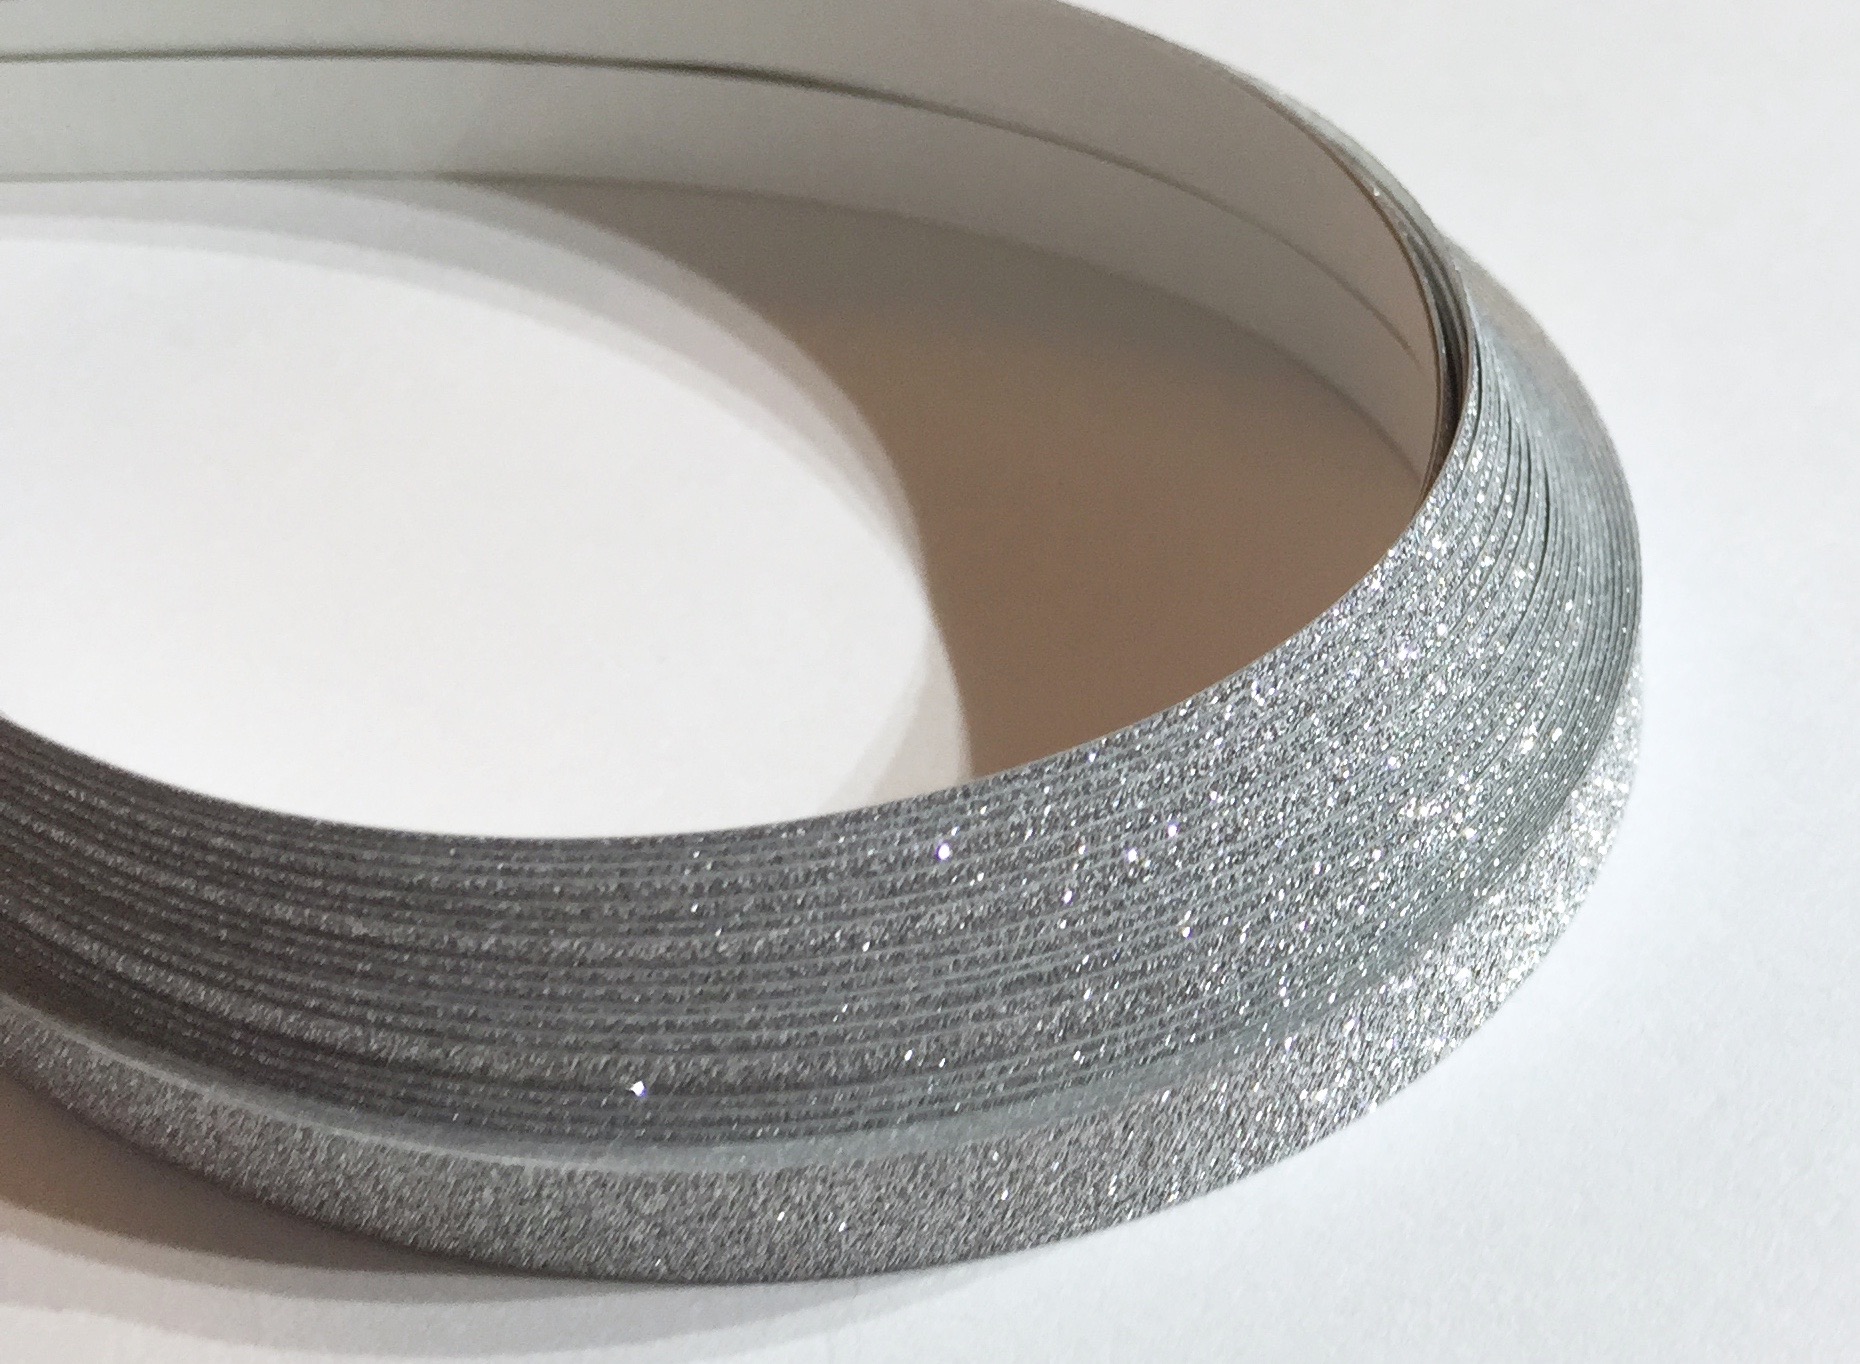
Metallic
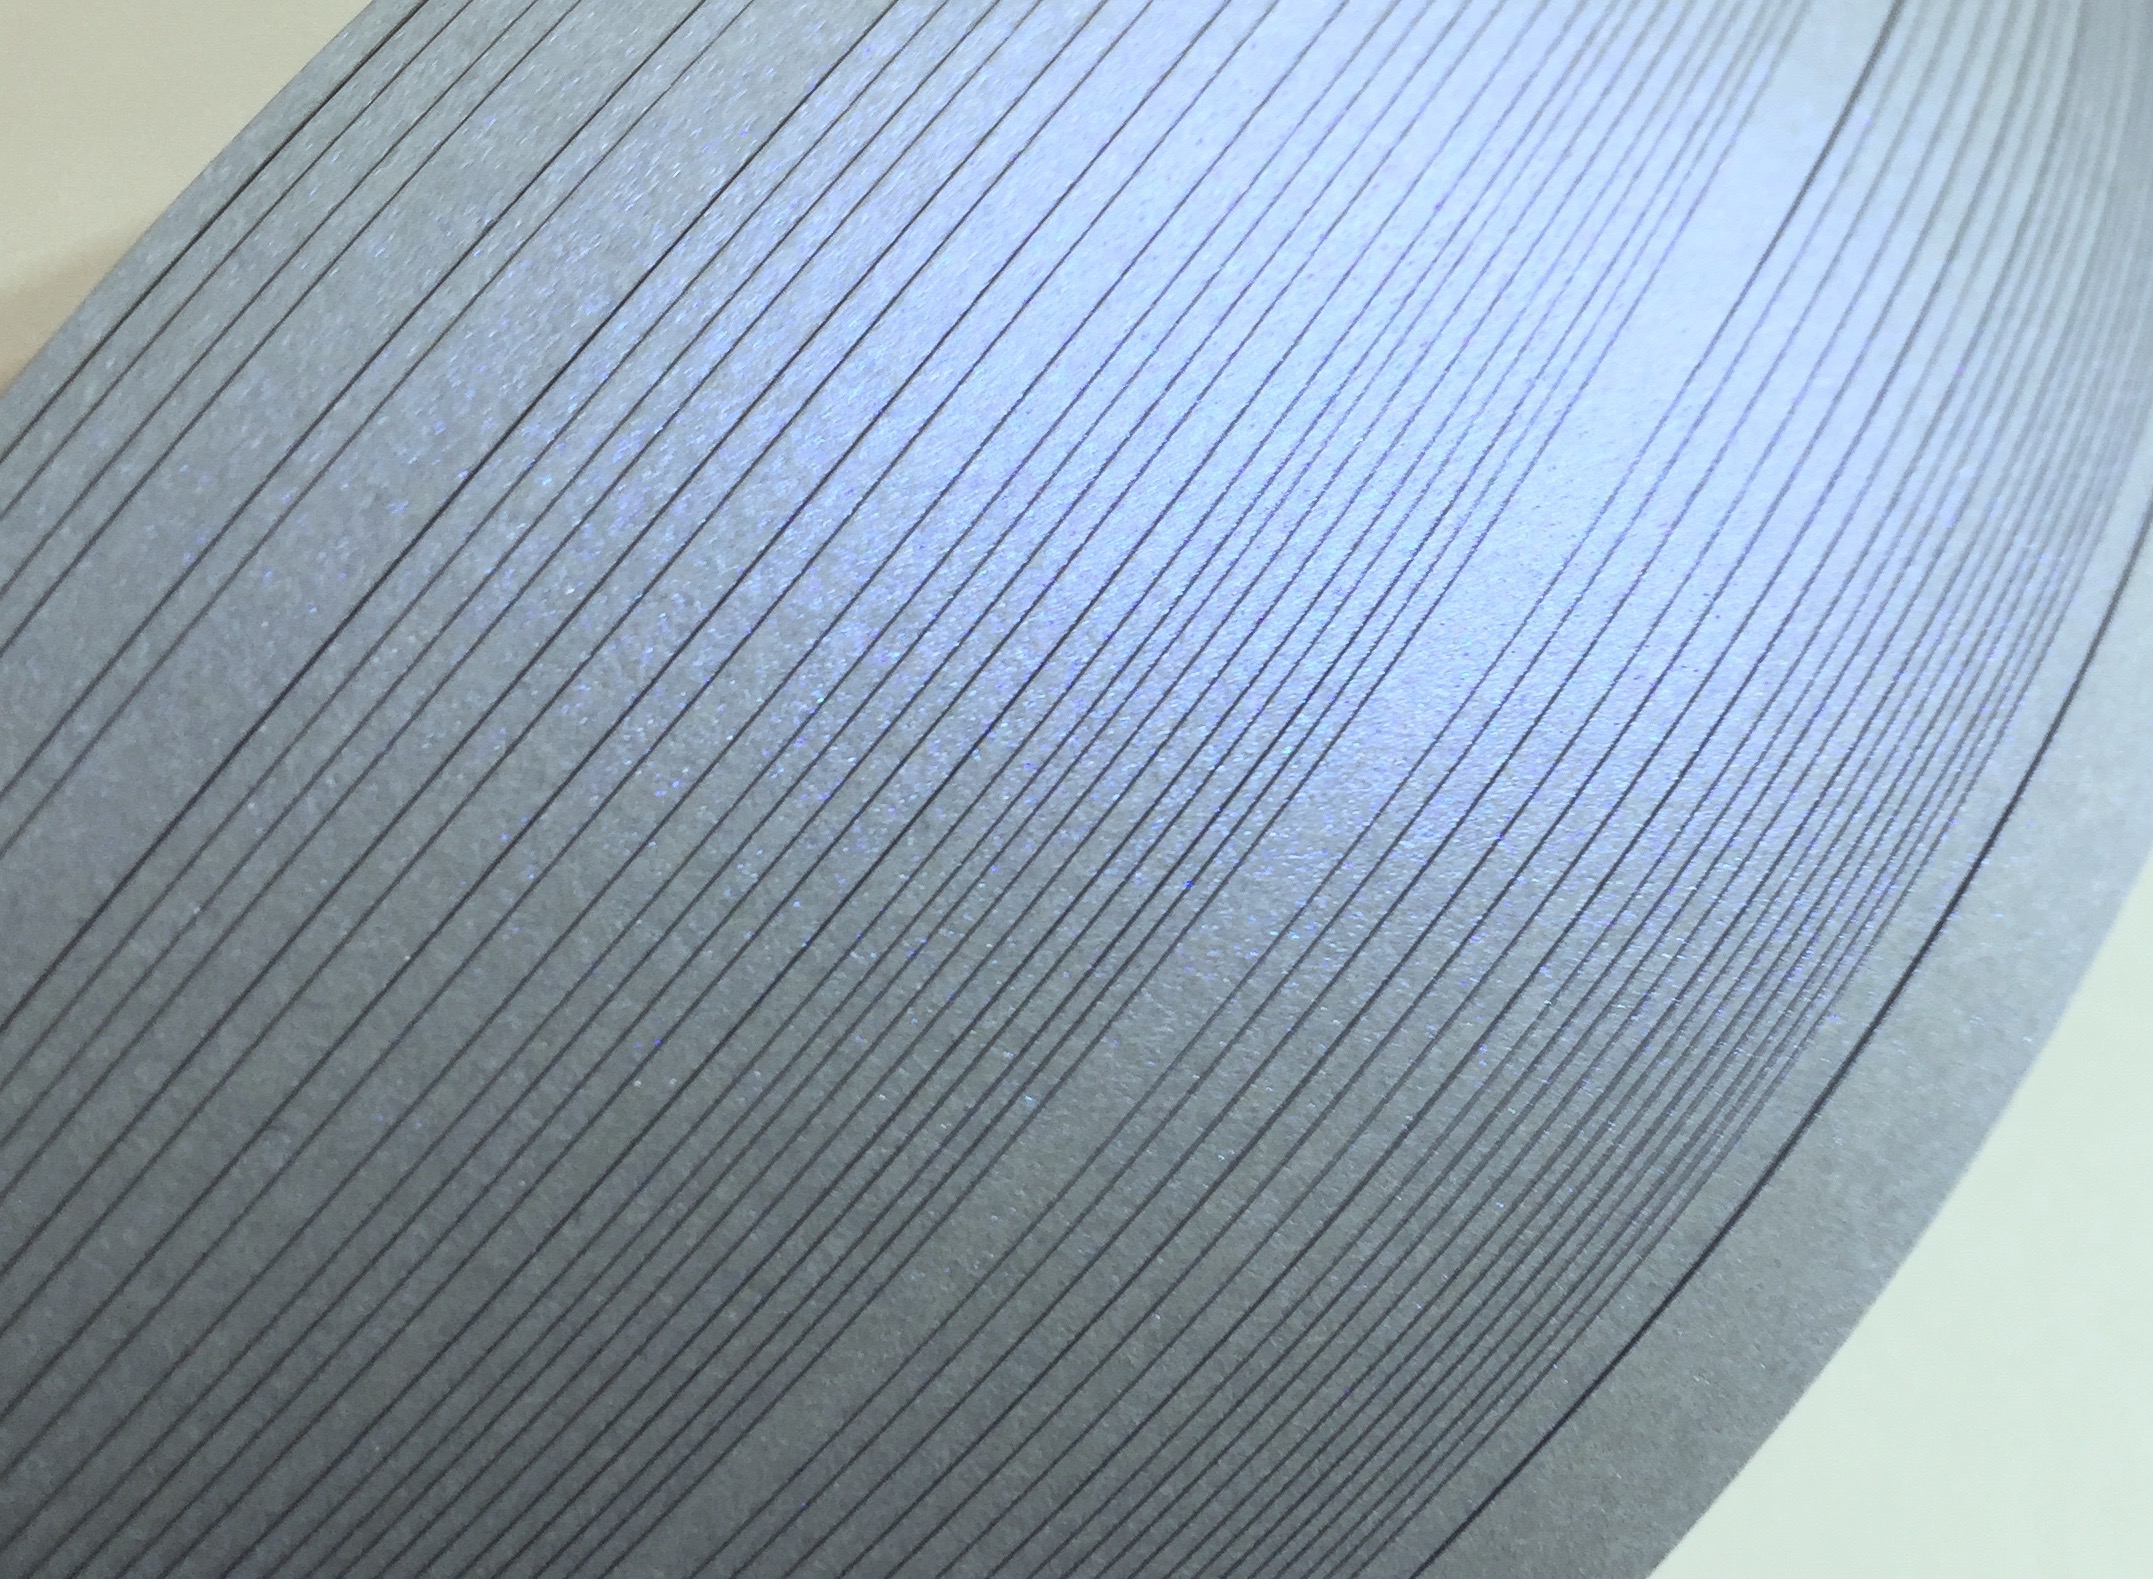
Metallic paper has a great look and is a popular choice for quillers who have a special project in mind. Most metallic papers are available in a heavier text weight and are easy to cut at home. Keep in mind that the glossy finish is not as easy to glue, and it requires a bit more drying time and patience.
One-sided papers
If you’ve ever walked down the scrapbook aisle of your local craft store, you may have been tempted to quill with some of the fabulously designed paper. One-sided paper can be an excellent choice for some projects, but remember that in quilling, it is the edge of the paper that shows. Since one-sided paper is usually printed or backed on white, it’s less than ideal for coils, but works well to outline a shape.
Specialty papers
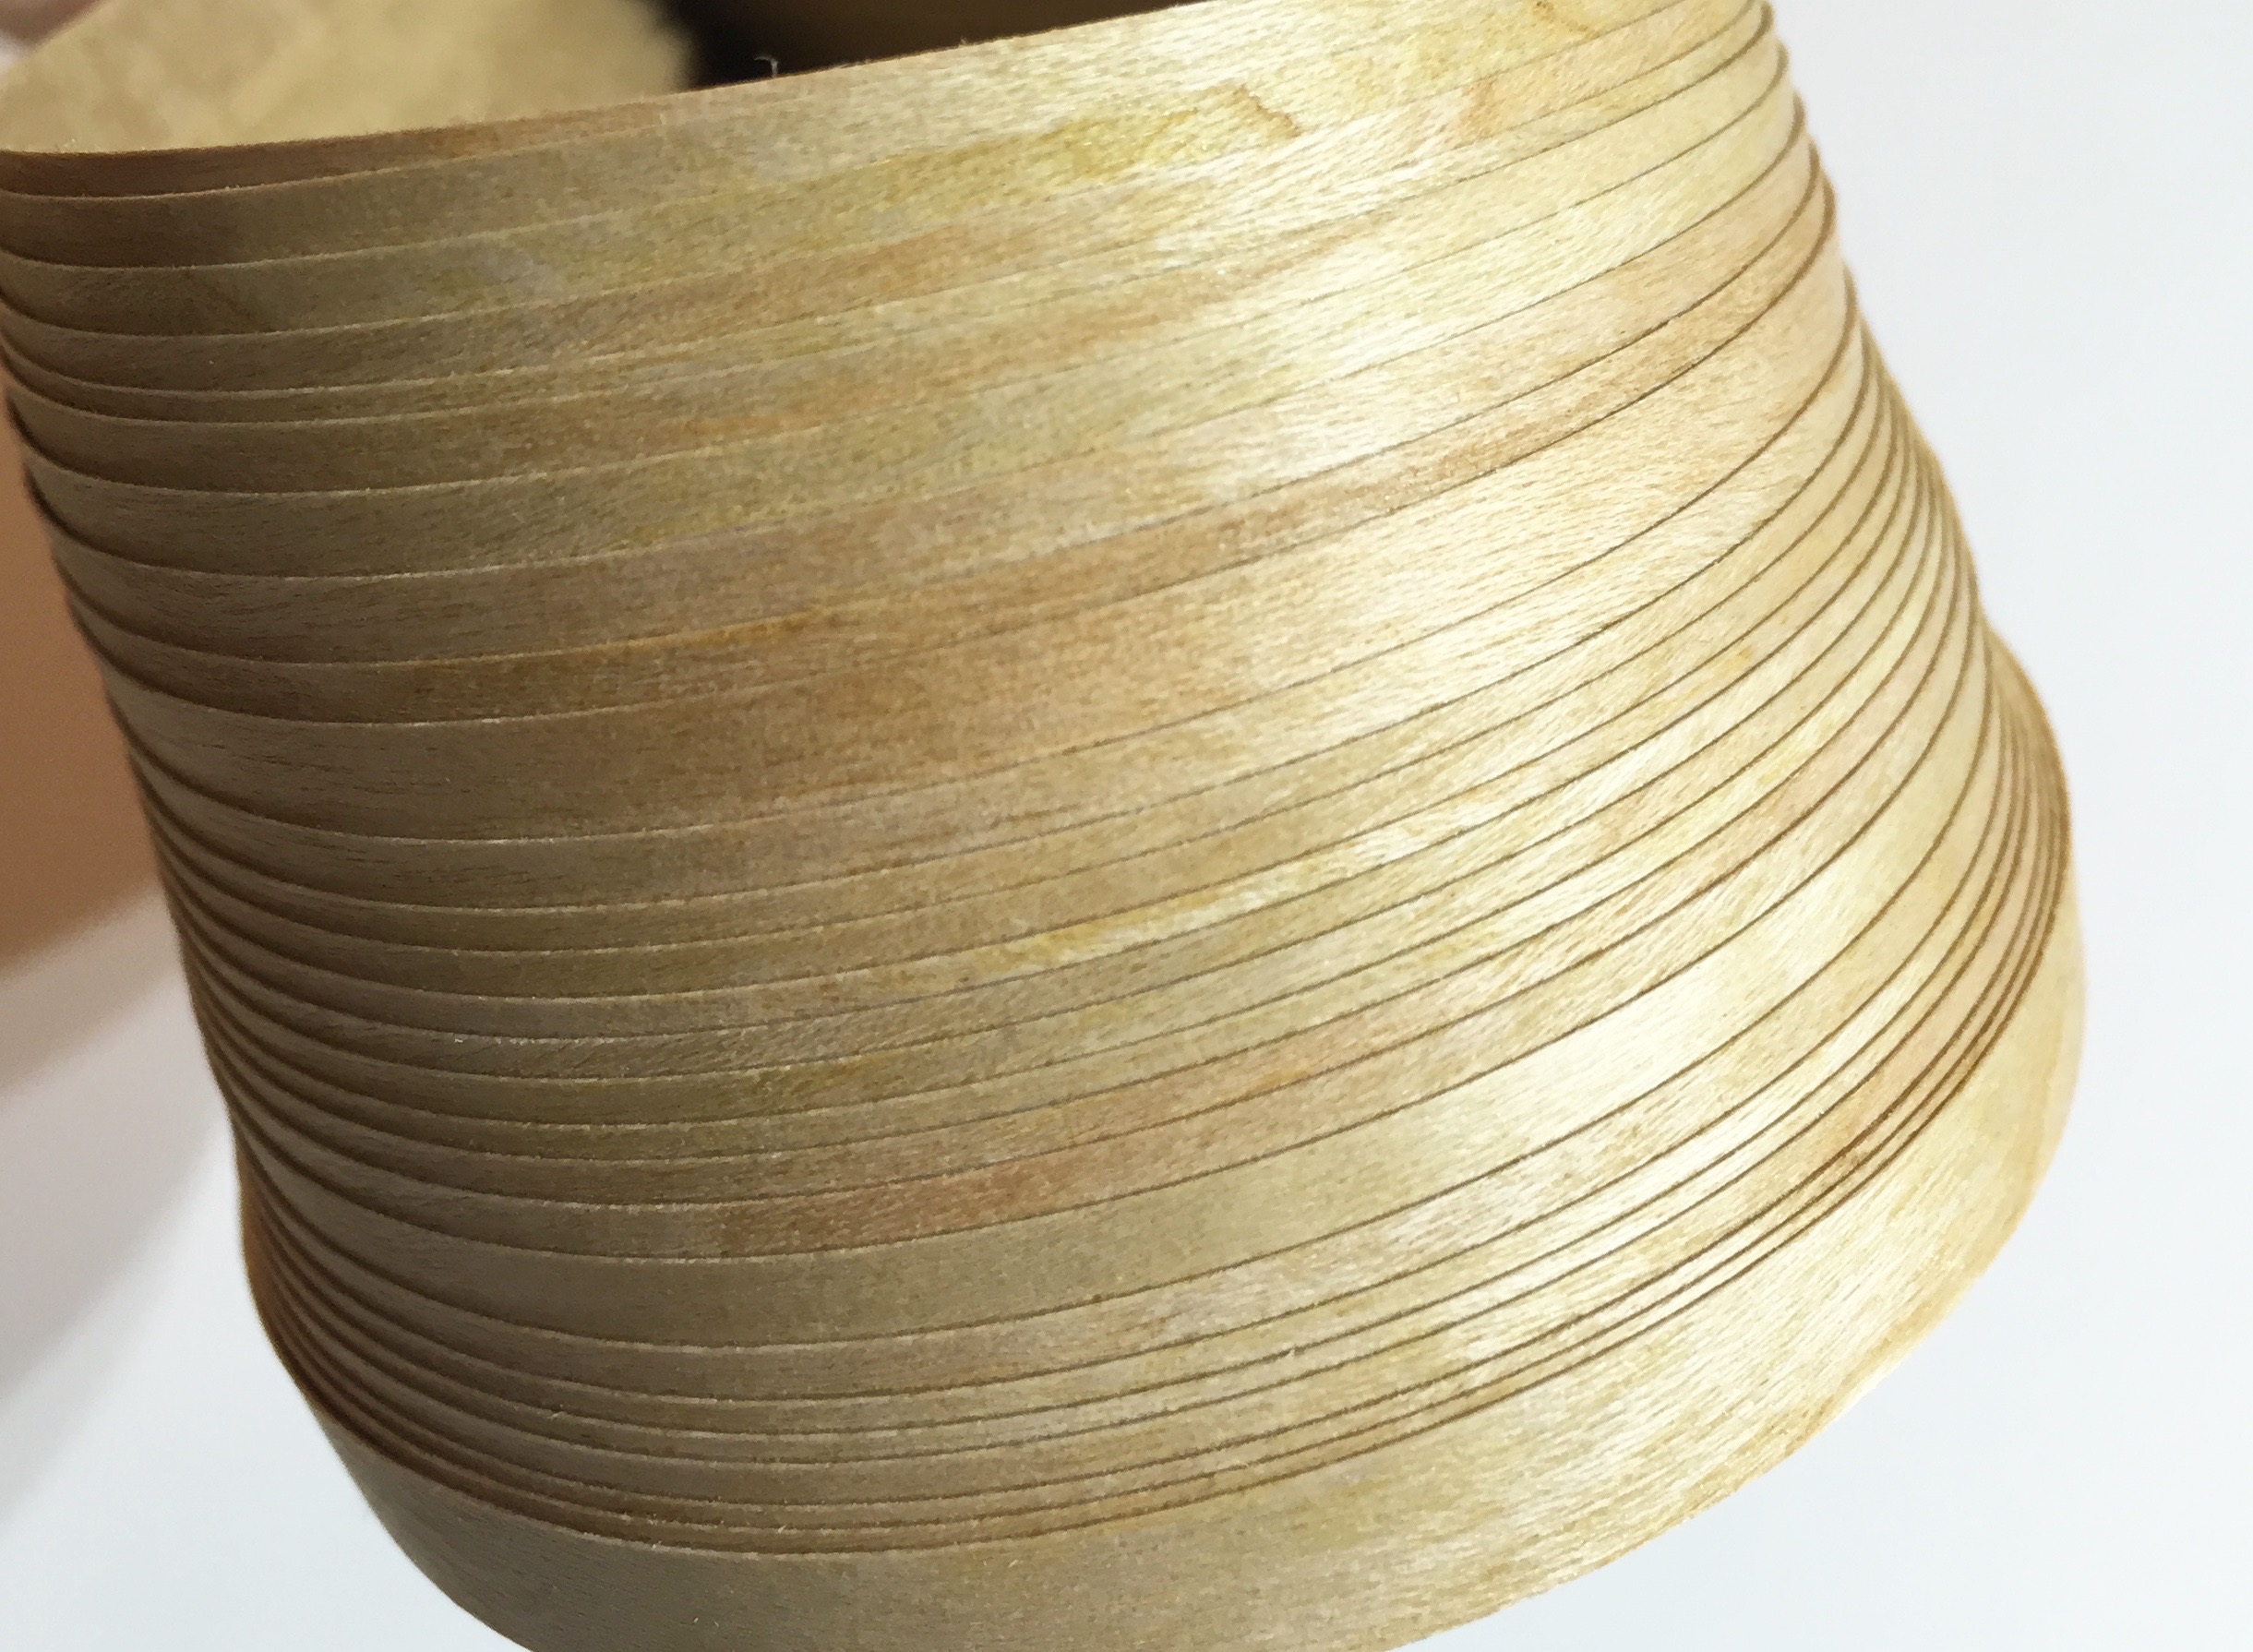
Specialty papers can be a lot of fun to use and need to be considered on an individual basis whether they are a good choice for cutting at home. The paper above is made from genuine cherry wood. It’s lovely to look at but a little difficult to cut. Keep the paper’s special qualities in mind when it comes time to select a cutting surface and implements. Safety first!
Vat-dyed colored paper
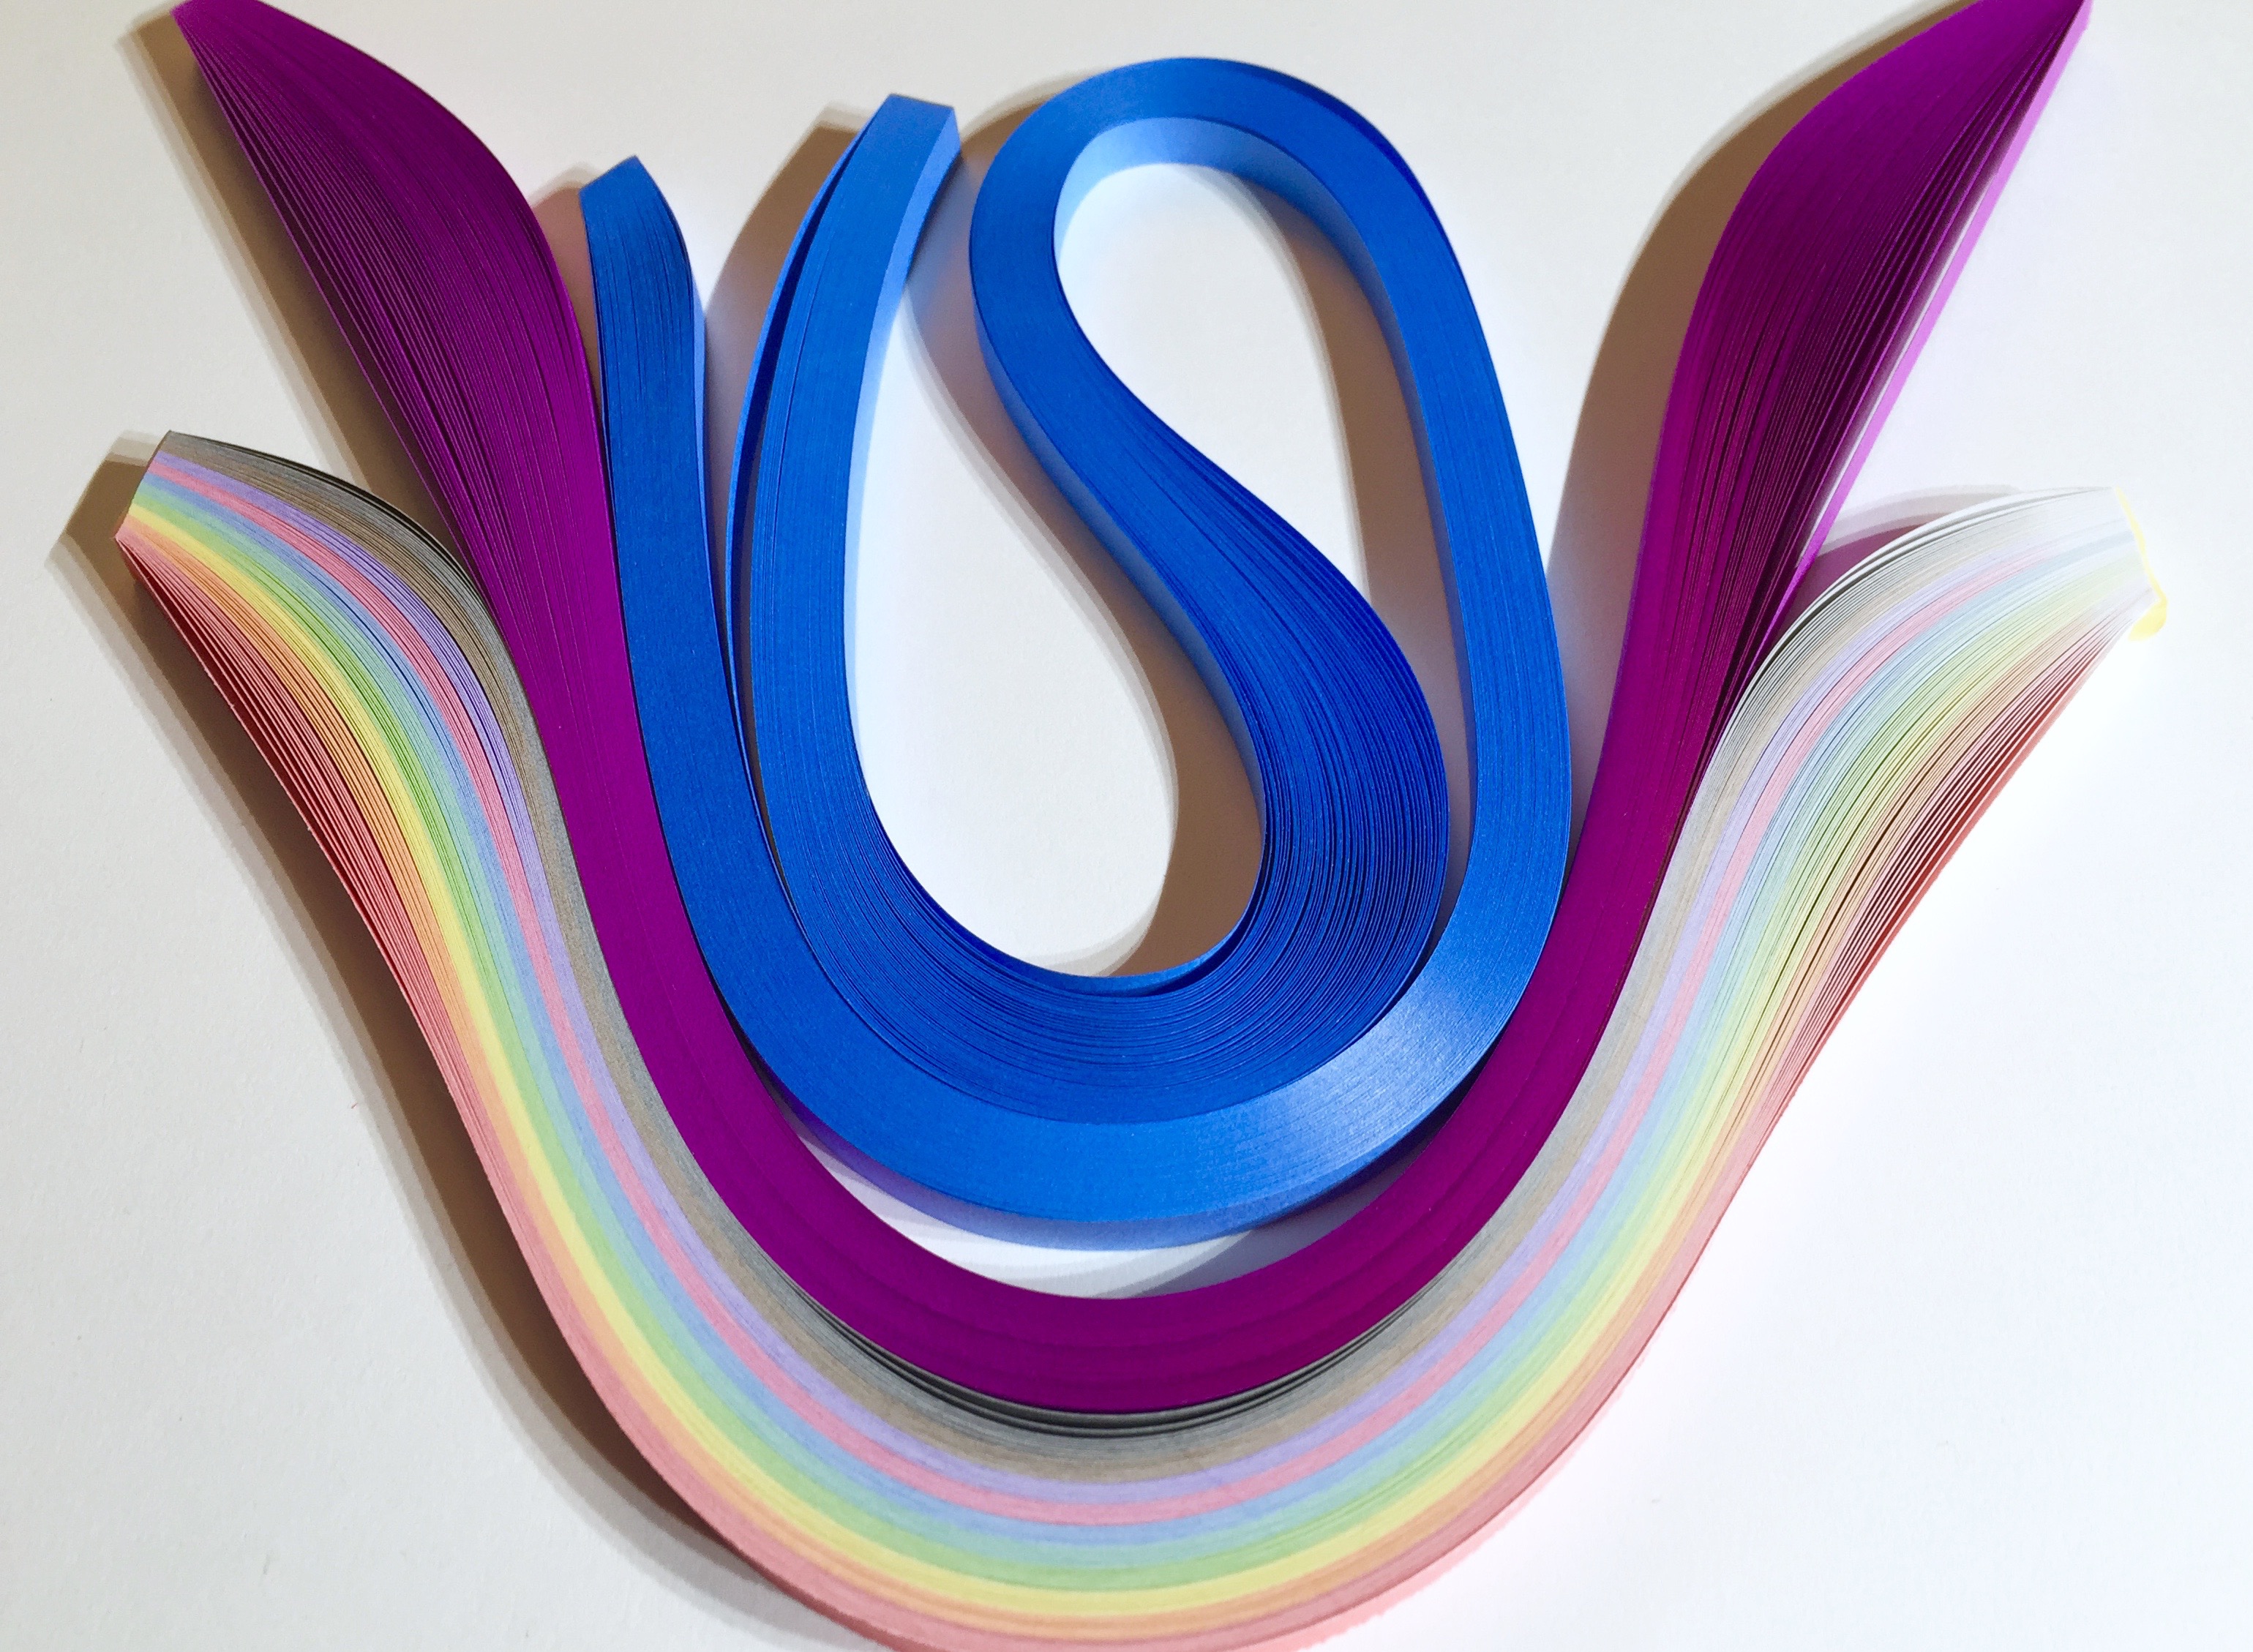
The easiest to cut, the easiest to quill, the easiest to find in your local store. Colored paper makes an excellent choice in most quilling projects. Be sure to choose paper that’s acid free and colorfast. Quilling is a time-consuming project, and if you want it to last, these variables are a must!
Finding the Correct Length
One last thing to consider before stepping into the studio is the length of paper. A standard 8.5″ x 11″ paper is the easiest to find, but most quilling patterns use strips that are 17″ or longer. If you can find the larger size to cut, it will be slightly easier for follow-along projects. If not, however, don’t sweat it! A little glue is all you need to get the correct size.
How to Make Your Own Quilling Paper:
Now that you are armed with the knowledge to select the right paper for your project, you are ready to cut your own quilling strips. To do so, you will need the following supplies:
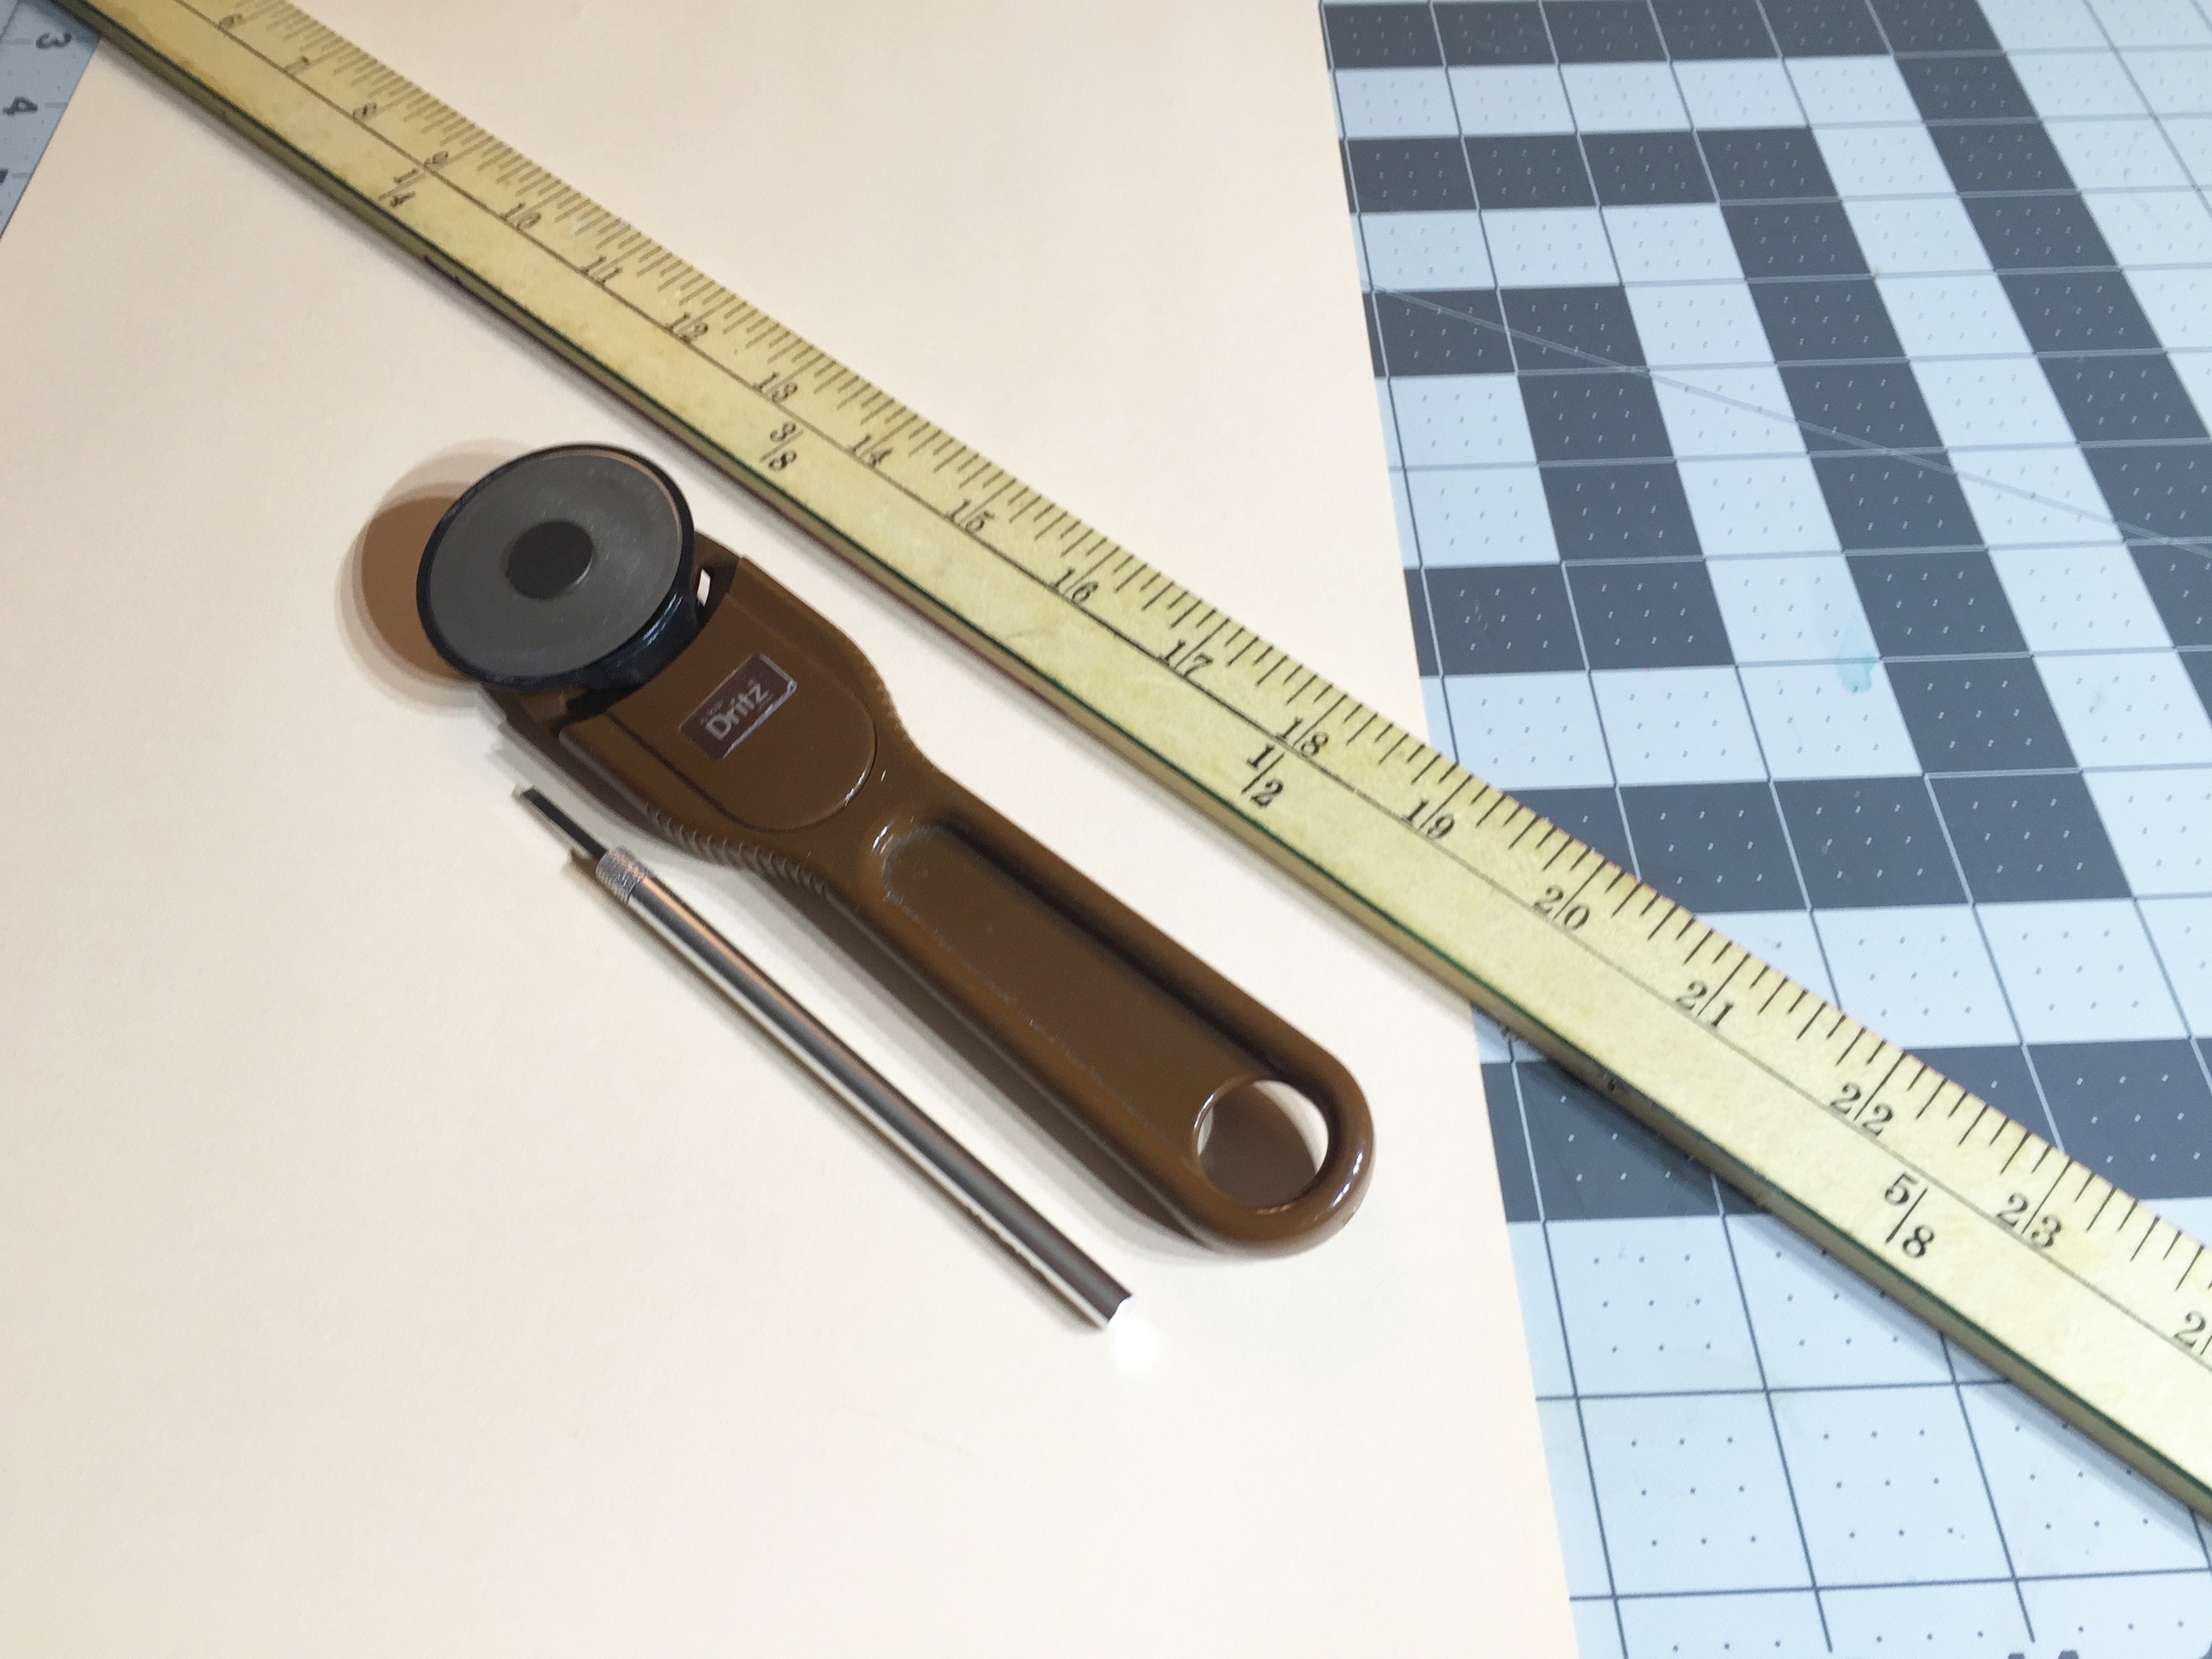
What You Need:
- Self-healing mat or appropriate cutting surface
- Ruler or yard stick
- Craft knife or rotary cutter
- Paper of choice
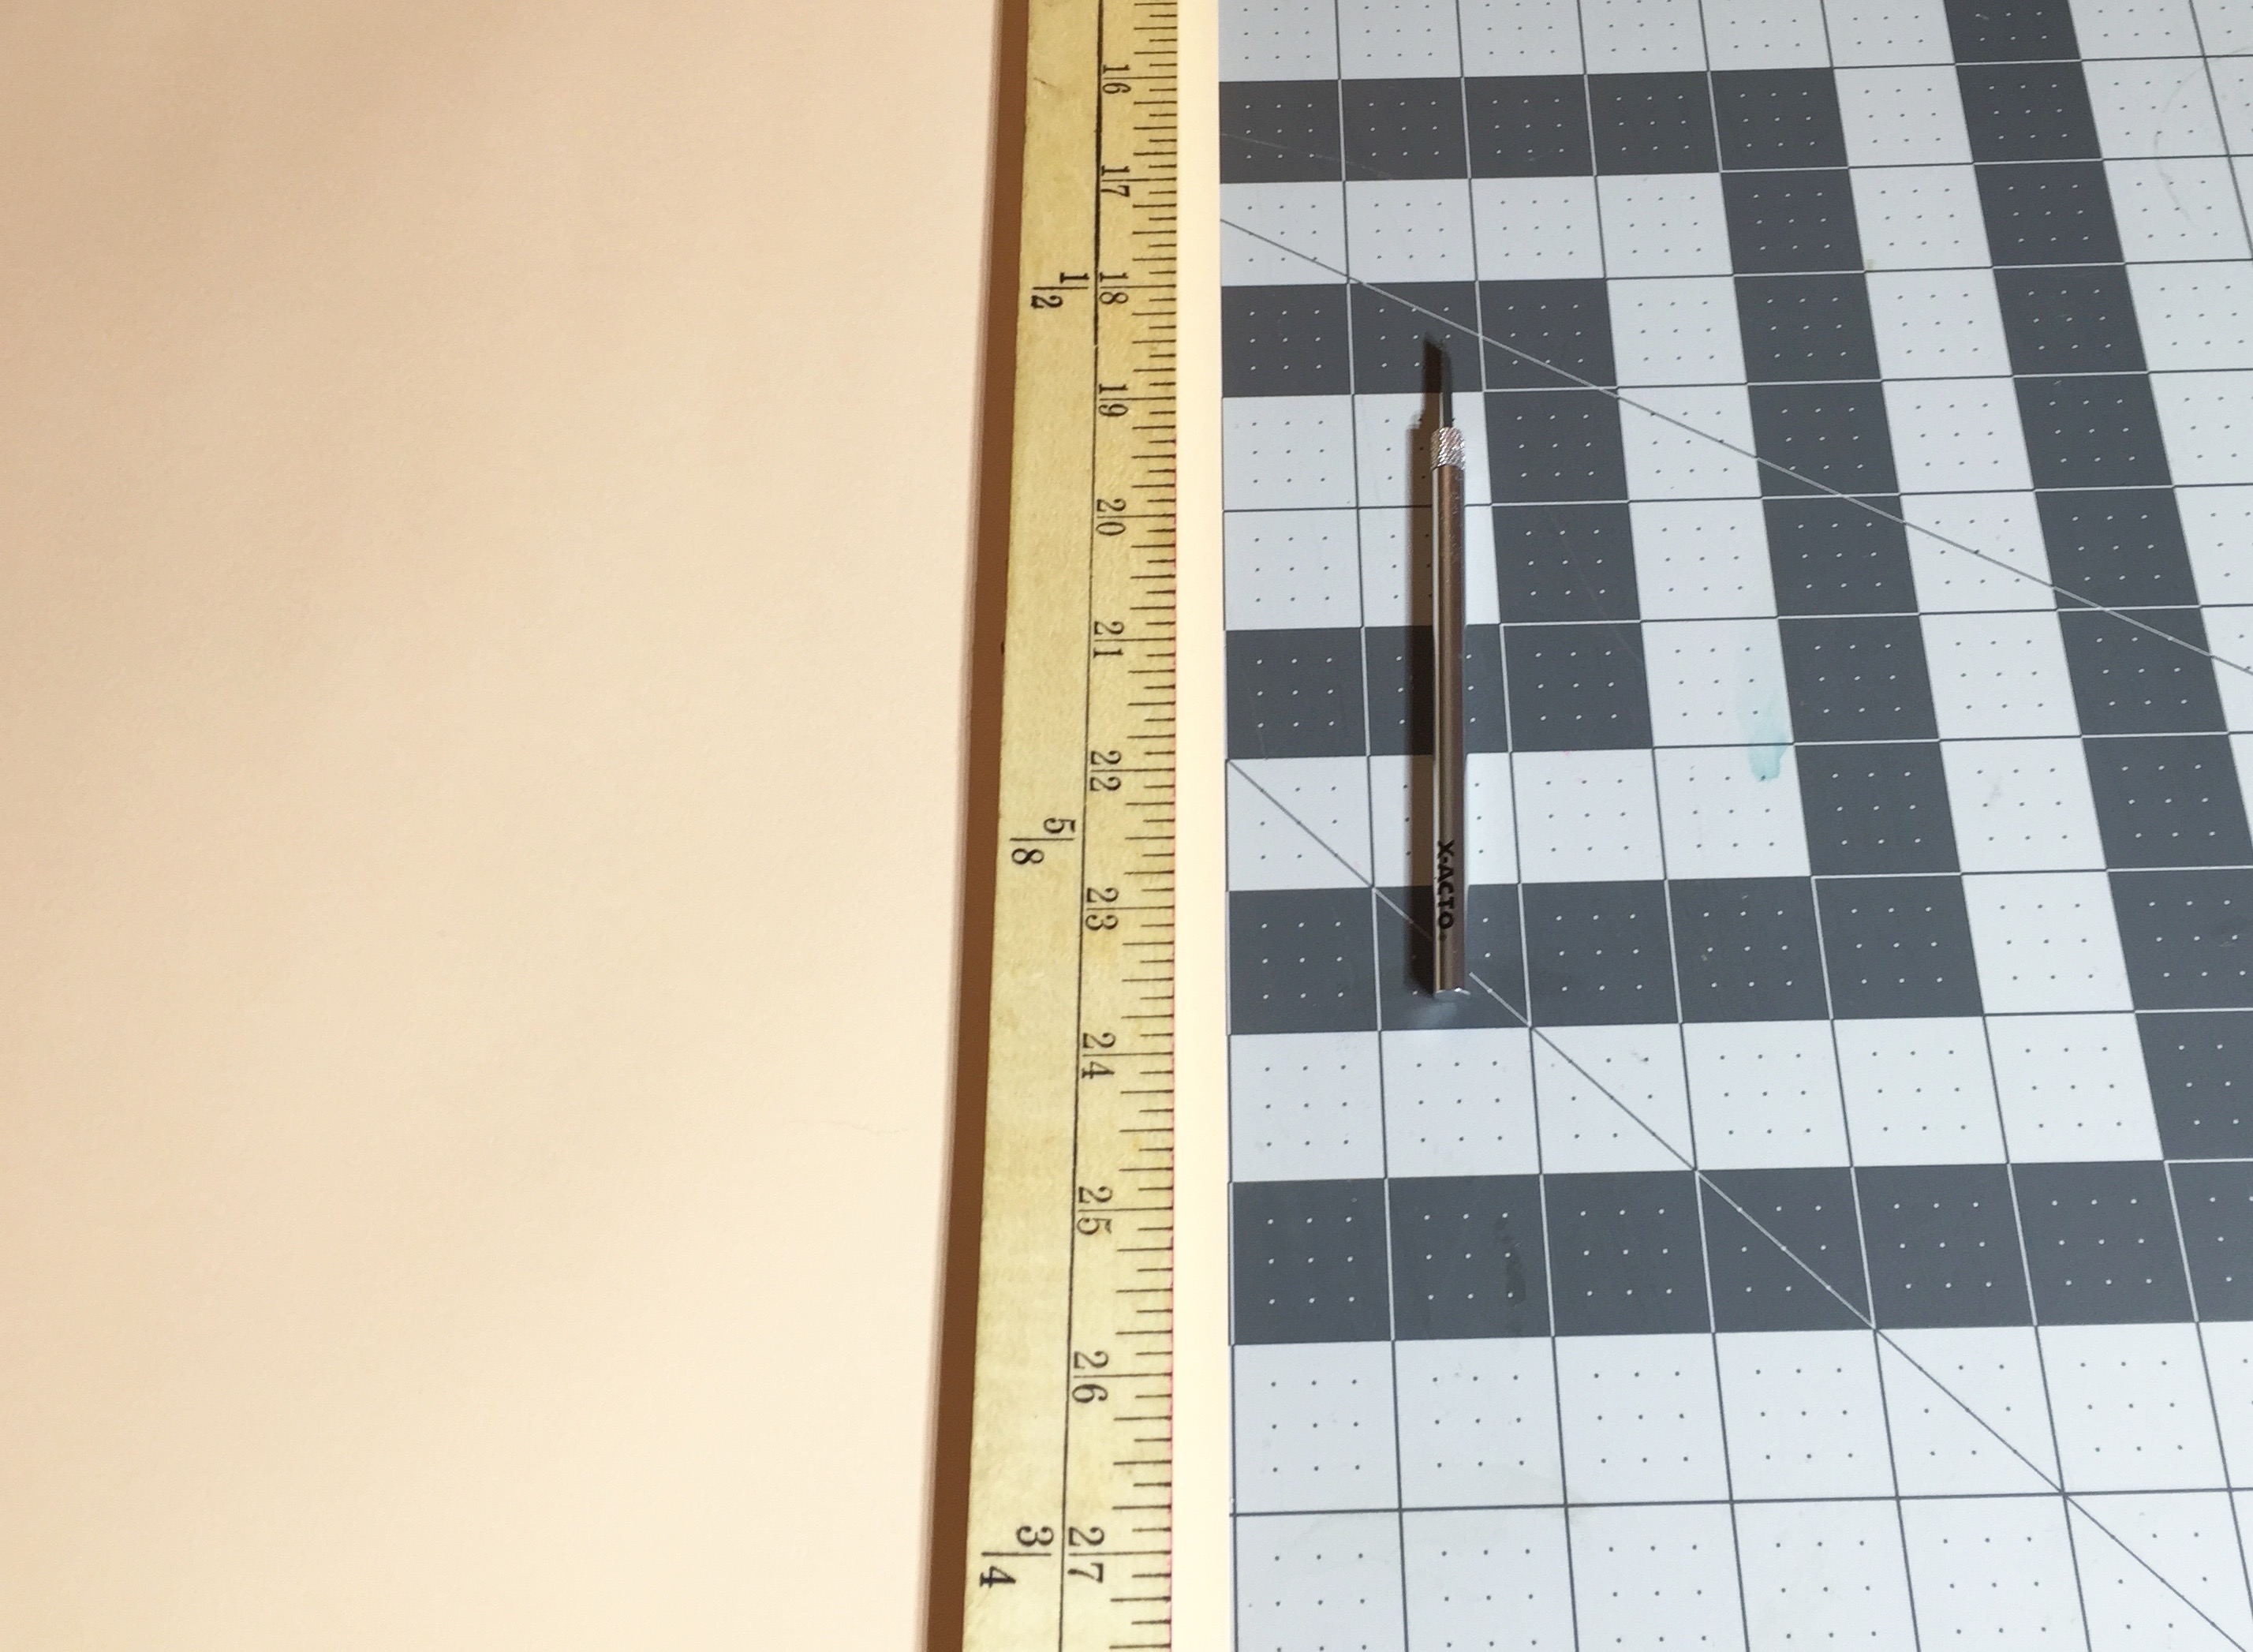
Step 1: Square up your edges

Using the ruler on your self-healing mat, square up the edges on the left-hand side of your paper sheet.
Step 2: Trim away the excess
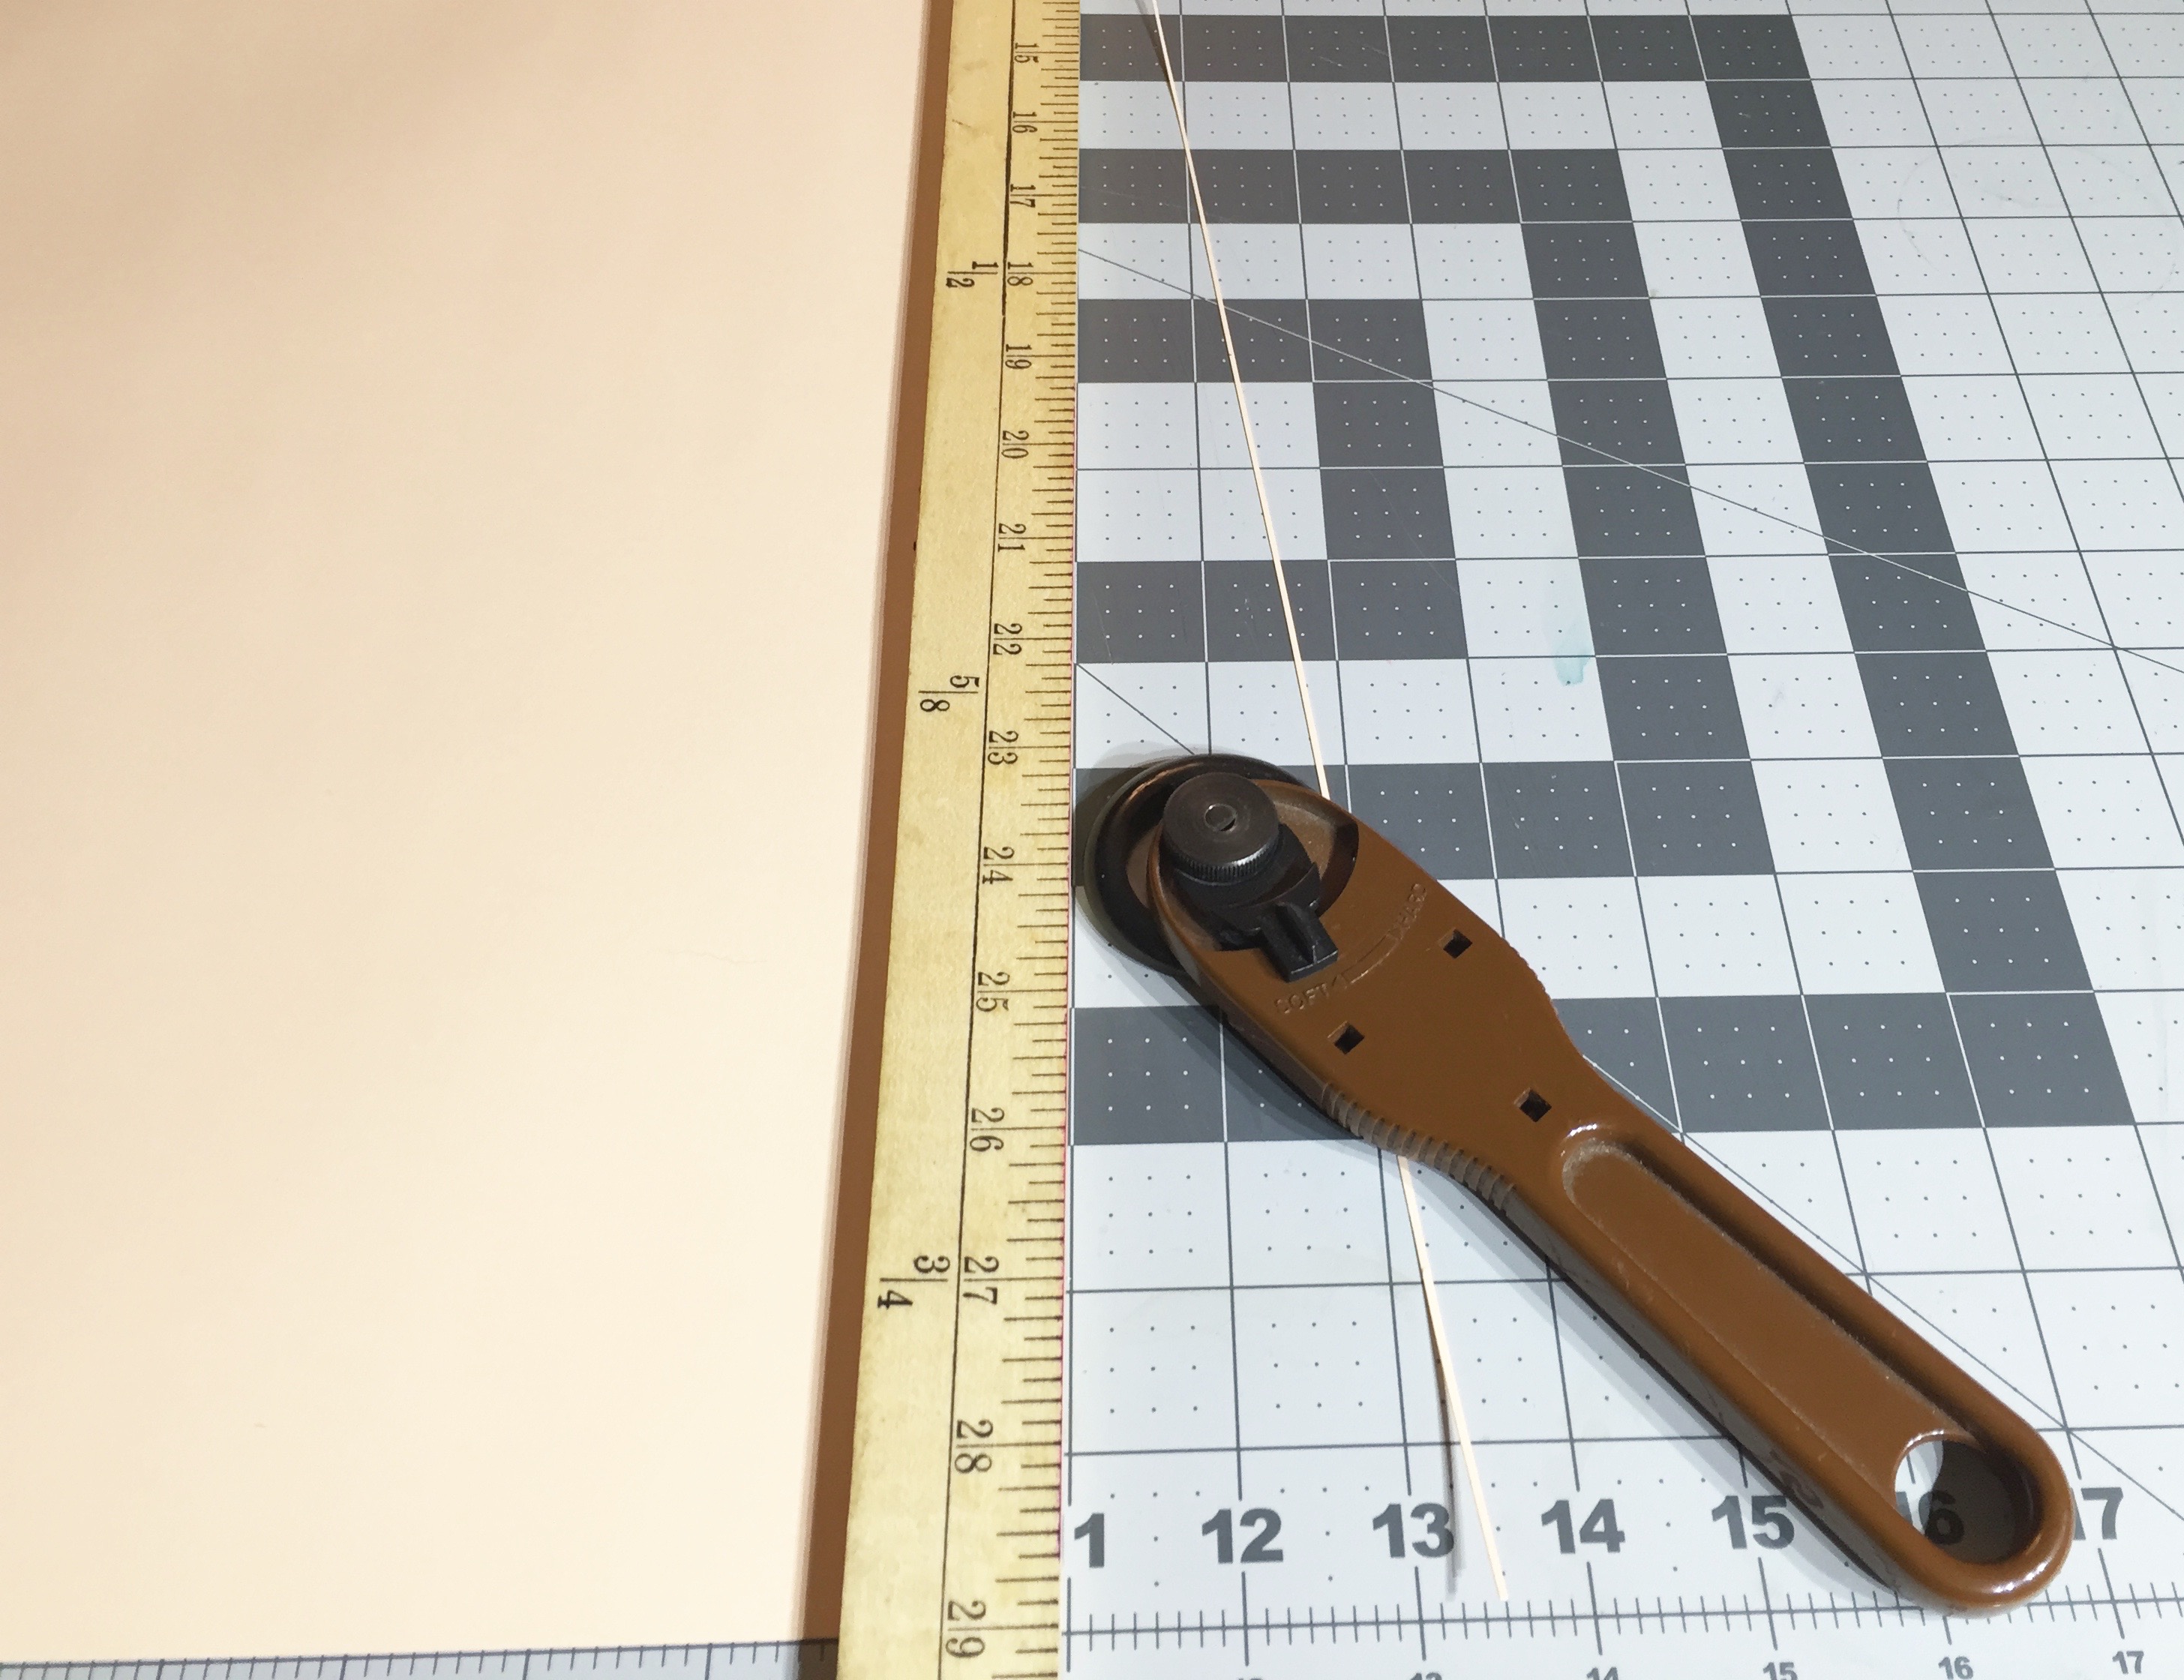
Use your yard stick to square up the opposite side of your paper. A sheet is almost never cut exactly perfect, and you will need to cut off the excess before beginning to cut your quilling strips. I prefer using a rotary cutter instead of a utility knife for safety reasons, but the choice is yours.
Step 3: Line it up
Keeping your paper securely in place, move your yard stick to the left. Pay attention to the preset markings on the self-healing mat to give you the desired width when you cut.
Step 4: Cut your strip
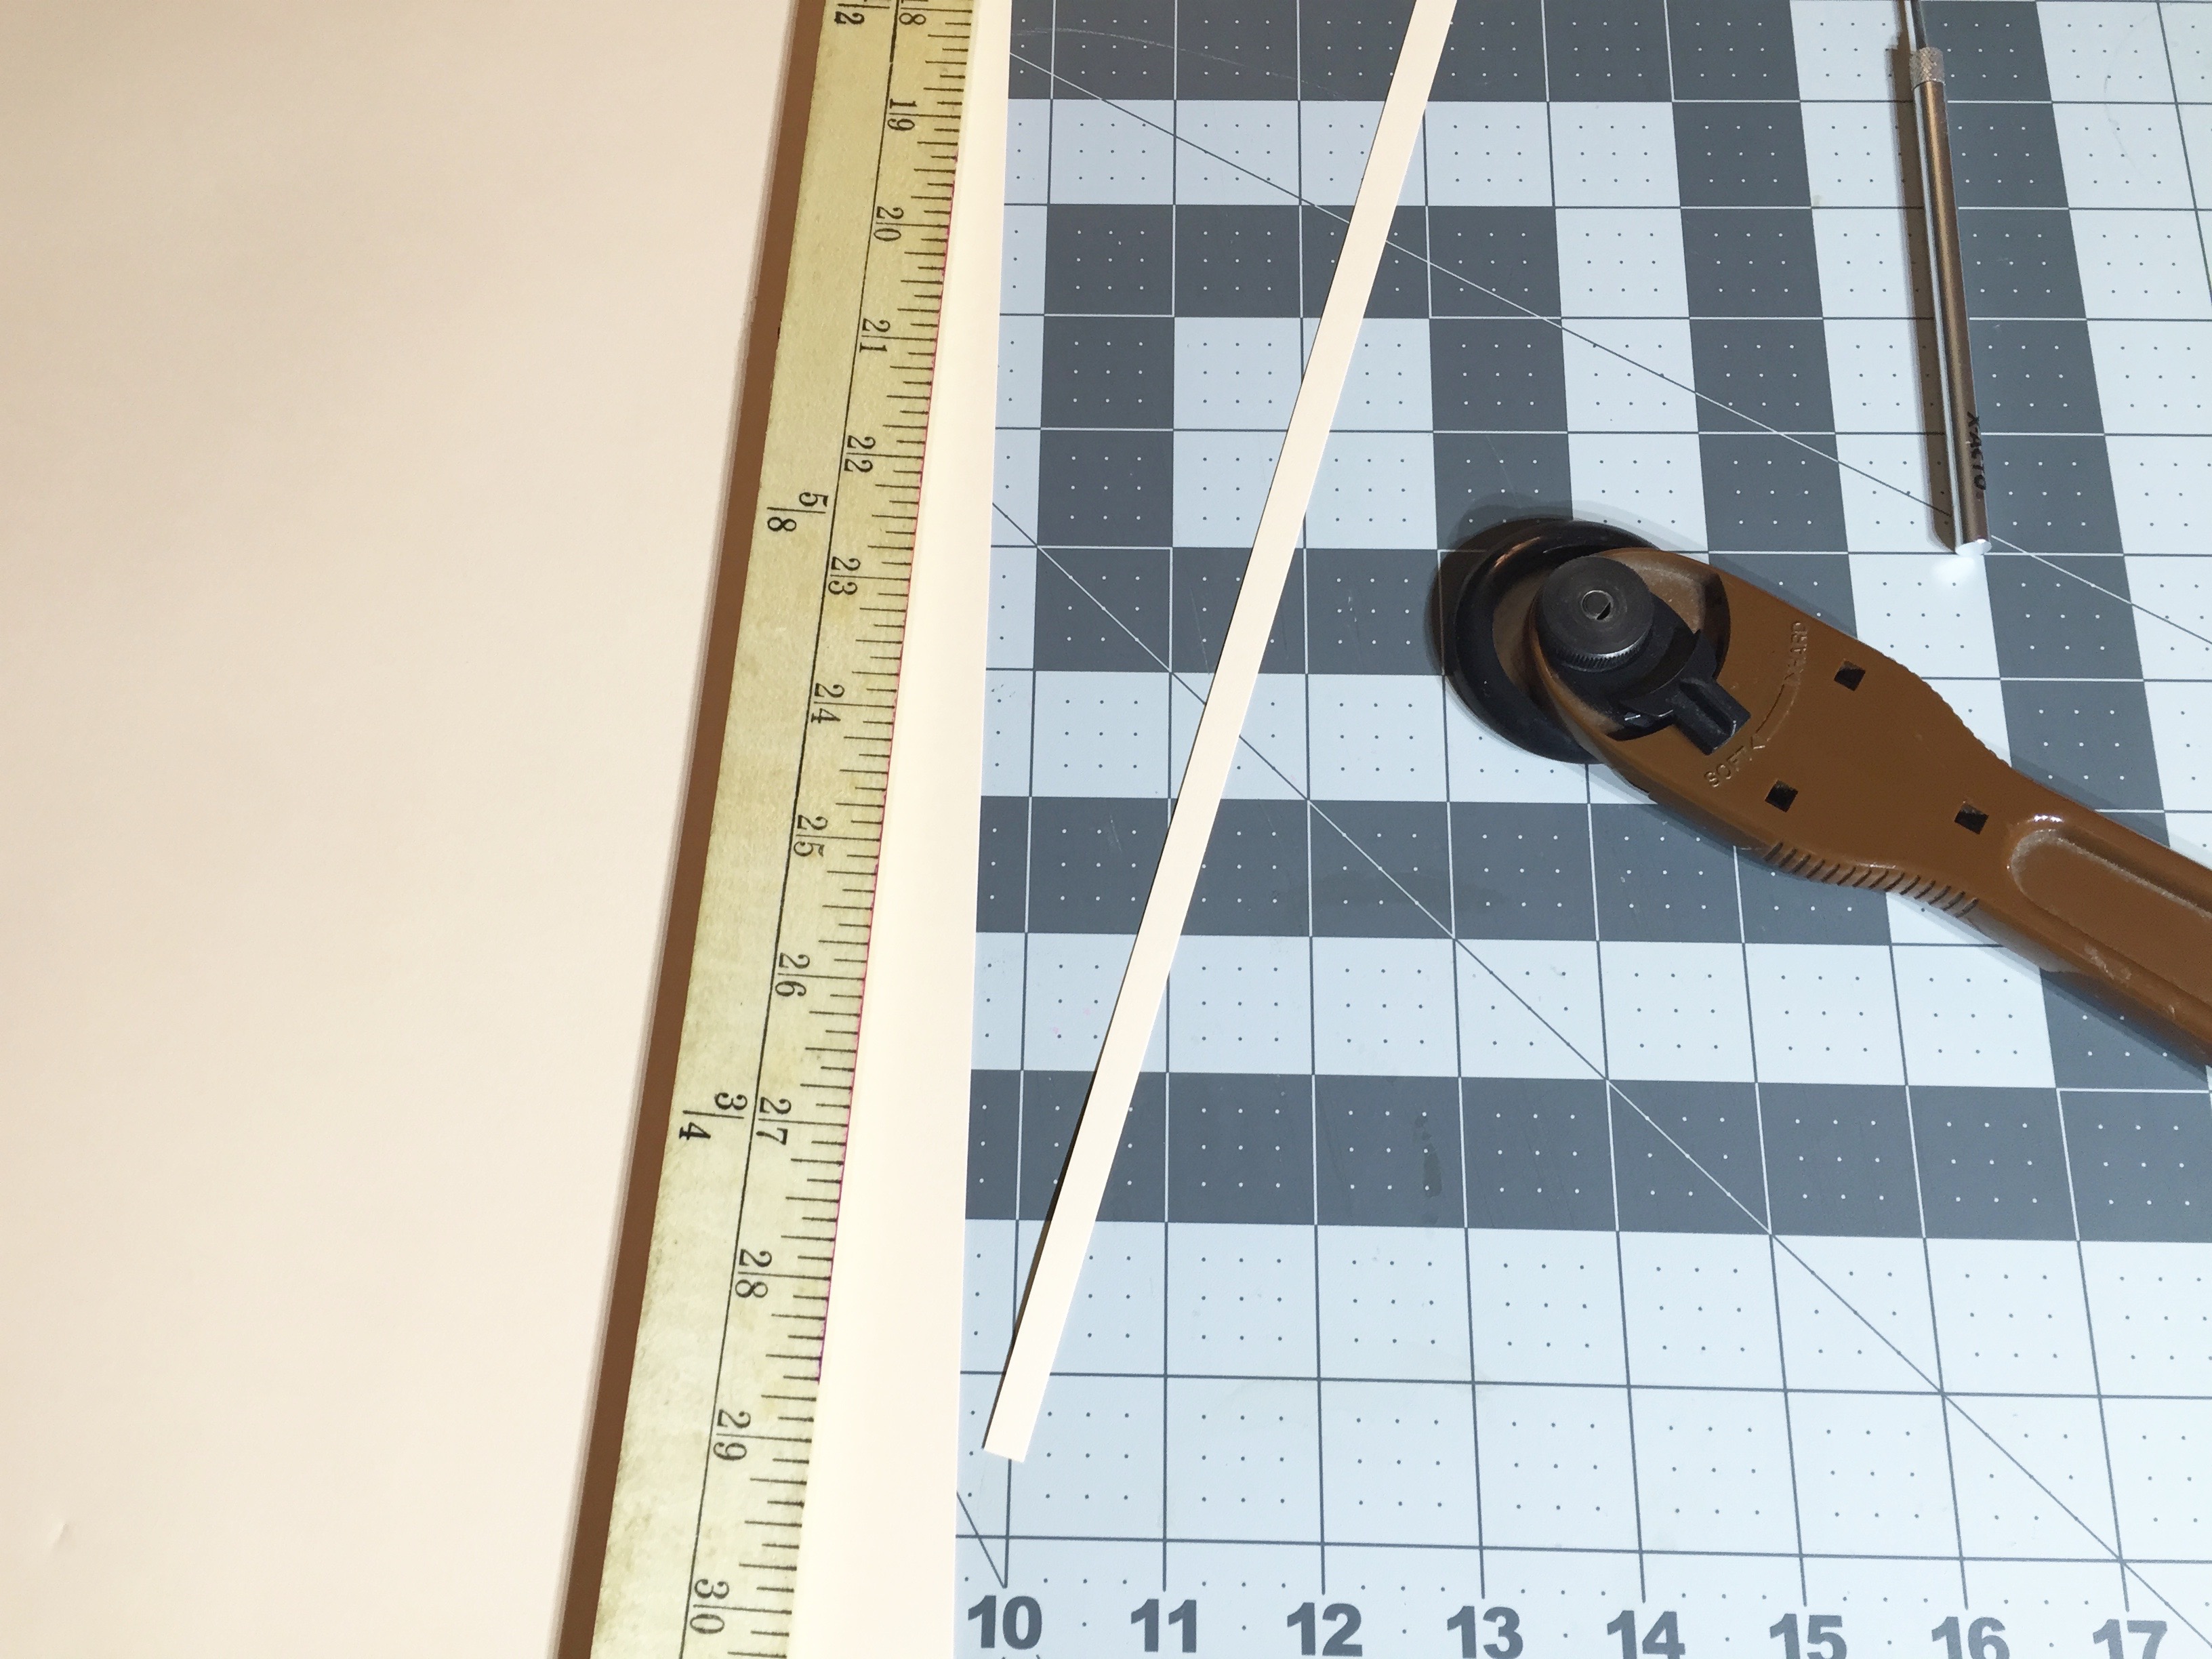
When cutting with a rotary tool, I find it easiest to begin at the bottom and move upward. When using a utility knife, I find the opposite to be true. Either way, lean heavily into the yard stick with your body weight and hand to avoid slipping.
And there you have it — self-cut quilling paper! Repeat this same process as much as needed for your paper project.
How do u know which side to cut paper? I usually cut cardstock and ive always wondered if i was cutting the right side...im new and dont know how to tell how paper fibers are going.
Thank you for this information, sooo helpful! I'm very new to quilling.
Beginner